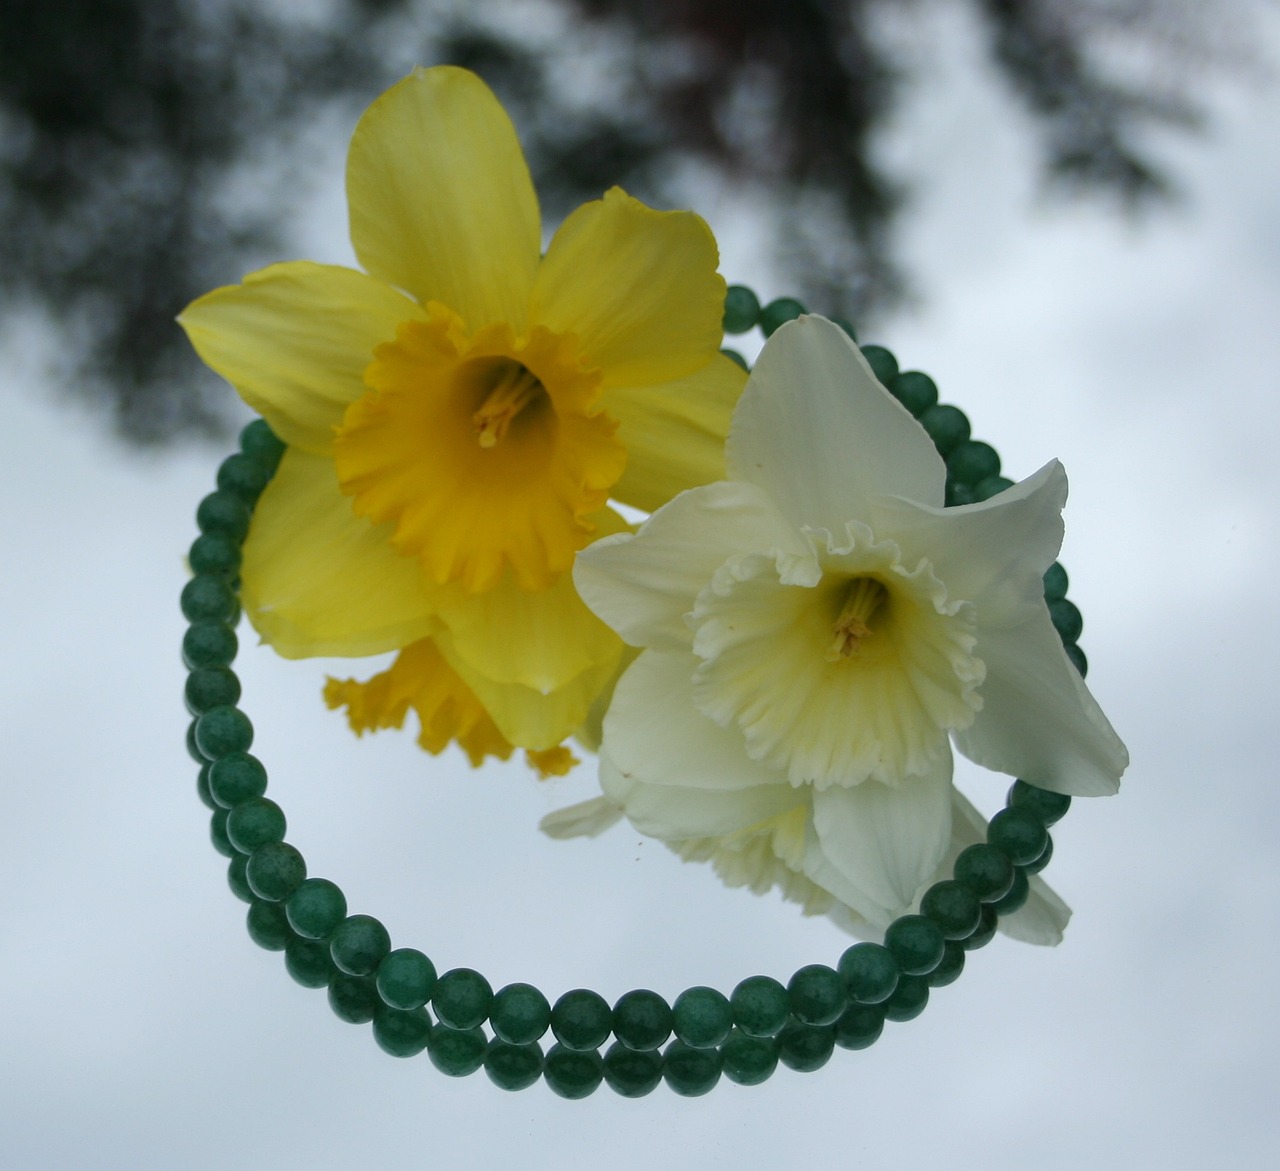
How to Paper Mache a Daffodil
A step-by-step guide on how to create a beautiful paper mache daffodil using simple materials and techniques.
If you’re looking for a fun and creative craft project, paper mache is the perfect choice. And what better way to showcase your skills than by creating a stunning paper mache daffodil? With just a few basic materials and some easy-to-follow steps, you’ll be able to bring this iconic flower to life.
To get started, gather all the necessary materials. You’ll need newspapers to create the base, flour and water to make the paper mache paste, paint to add color, and a daffodil template to guide your shaping and sculpting. Once you have everything ready, you’re all set to begin your paper mache daffodil adventure.
The first step is to create the base of your daffodil. This is where the crumpled newspapers and masking tape come in handy. By shaping and taping the newspapers, you’ll form a sturdy foundation for your flower. This step is crucial as it ensures that your daffodil will hold its shape throughout the paper mache process.
Next, it’s time to apply the paper mache layers. This is where the magic happens. By dipping strips of newspaper into the paper mache paste and layering them onto the base, you’ll gradually build up the shape of the daffodil. Remember to let each layer dry before adding the next one to ensure a strong and durable structure.
Once you’ve built up enough layers, it’s time to shape and sculpt your daffodil. With your template as a guide, carefully mold the paper mache to resemble the petals and trumpet of a real daffodil. This step requires some patience and attention to detail, but the end result will be worth it.
After shaping, it’s important to smooth and sand the surface of your paper mache daffodil. This will give it a polished and professional finish. Take your time and make sure to remove any rough edges or bumps. The smoother the surface, the better the final result will be.
Now comes the fun part – painting and decorating your daffodil. Let your creativity shine as you choose vibrant colors and add intricate details to bring your creation to life. Experiment with different painting techniques and consider adding some glitter or other embellishments for an extra touch of sparkle.
Finally, it’s time to add the finishing touches to your paper mache daffodil. Attach a stem and leaves to complete the look and make your flower appear more realistic. You can use wire or even recycled materials for this step. Get creative and make it your own.
Once your paper mache daffodil masterpiece is complete, you’ll want to showcase and preserve it. Find a special place to display your creation and protect it from dust and damage. With proper care, your paper mache daffodil will bring joy and beauty to your home for years to come.
In conclusion, creating a paper mache daffodil is a rewarding and enjoyable craft project. By following these step-by-step instructions and using simple materials and techniques, you’ll be able to create a stunning flower that will impress everyone who sees it. So gather your supplies, let your creativity flow, and have fun bringing this beautiful flower to life.
Gather Materials
Gathering the right materials is the first step in creating a stunning paper mache daffodil. To get started, you will need a few simple items that you may already have around the house. Here’s a list of materials you’ll need:
- Newspapers: These will be used to create the base and structure of your daffodil.
- Flour: A key ingredient for making the paper mache paste.
- Water: You’ll need water to mix with the flour and create the paste.
- Paint: Choose vibrant colors to bring your daffodil to life.
- Daffodil template: This will serve as a guide to shape your paper mache into a daffodil.
Once you have gathered all the necessary materials, you’ll be ready to embark on your paper mache daffodil journey. These common household items make it easy and affordable to create a beautiful masterpiece that will impress everyone who sees it.
Create the Base
Creating a sturdy base is an essential step in making a paper mache daffodil. To start, gather crumpled newspapers and masking tape. These materials will provide the structure and support for your daffodil.
Begin by shaping the crumpled newspapers into a bulb-like form. This will serve as the foundation for the flower. Use masking tape to secure the newspapers together, ensuring that the shape remains intact.
Next, add additional layers of crumpled newspapers and tape to build up the base, creating a more defined shape. Pay attention to the proportions and size of the daffodil, keeping in mind the desired final appearance.
Once you are satisfied with the base, reinforce it with more layers of masking tape. This will add strength and stability to your paper mache daffodil.
By following these steps, you will have successfully created a sturdy base for your paper mache daffodil. Now, you are ready to move on to the next stage of the process – applying the paper mache layers.
Apply Paper Mache Layers
Applying paper mache layers is a crucial step in creating a durable and realistic daffodil shape. By using this technique, you can achieve a sturdy structure that will withstand the test of time. To begin, gather your materials such as newspapers, flour, and water. Tear the newspapers into small strips or squares, approximately 1-2 inches wide.
Next, create a paste by mixing equal parts of flour and water. The consistency should be smooth and slightly runny, similar to pancake batter. Dip the newspaper strips into the paste, making sure they are fully coated. Remove any excess paste by running the strips between your fingers.
Now, start applying the paper mache layers to your daffodil template. Place the coated newspaper strips onto the template, overlapping them slightly to ensure a strong bond. Continue layering the strips until the entire template is covered. It is recommended to apply at least three layers for added strength.
Once the layers are applied, allow the paper mache to dry completely. This may take several hours or overnight, depending on the thickness of the layers. Once dry, the paper mache will harden and provide a solid foundation for shaping and sculpting.
Remember, the key to a durable and realistic daffodil shape is to apply multiple layers of paper mache. This will not only add strength but also create a smooth and seamless surface for further decorating. So, take your time and enjoy the process of bringing your paper mache daffodil to life!
Shape and Sculpt
One of the key steps in creating a paper mache daffodil is shaping and sculpting the paper mache layers to resemble the delicate petals and trumpet of a real daffodil. This process requires attention to detail and a steady hand, but with some practice, you can achieve stunning results.
To begin, gather your paper mache layers that have been applied and dried. Start by examining the shape of a real daffodil and use it as a reference. You can also use a daffodil template as a guide.
Using your fingers or a small tool, gently manipulate the paper mache layers to create the desired shape. For the petals, you can carefully curl the edges to give them a more realistic appearance. For the trumpet, shape it into a curved cone-like structure, tapering towards the end.
If you find that the paper mache layers are not holding their shape, you can reinforce them by applying additional layers of paper mache or using masking tape to provide support.
Remember, the goal is to create a lifelike representation of a daffodil, so take your time and pay attention to the details. With patience and practice, you’ll be able to shape and sculpt your paper mache daffodil into a stunning work of art.
Smooth and Sand
Once you have applied multiple layers of paper mache to your daffodil shape, it’s time to smooth and sand the surface to achieve a polished and professional finish. This step is crucial to ensure that your paper mache daffodil looks realistic and seamless.
To smooth the surface, start by gently running your hands over the paper mache layers. Feel for any rough or uneven areas and use your fingertips to smooth them out. This will help create a more uniform texture and make the surface easier to sand.
Next, grab a fine-grit sandpaper and lightly sand the entire surface of your paper mache daffodil. Use circular motions and apply gentle pressure to smooth out any remaining imperfections. Be careful not to sand too vigorously, as you don’t want to damage the underlying structure of your daffodil.
After sanding, wipe away any dust or debris with a clean, damp cloth. This will give you a clear view of the surface and allow you to identify any areas that still need smoothing. Repeat the sanding process if necessary until you achieve the desired level of smoothness.
By taking the time to smooth and sand your paper mache daffodil, you’ll be amazed at the professional-looking finish you can achieve. This step is essential in bringing your creation to life and adding that extra touch of realism.
Paint and Decorate
Paint and Decorate
Once you have completed the paper mache layers and shaped your daffodil, it’s time to bring it to life with vibrant colors and intricate details. Here are some painting and decorating techniques to make your paper mache daffodil truly stand out:
- Choose your colors: Select a color palette that complements the natural beauty of a daffodil. Opt for shades of yellow, orange, and white for the petals, and a contrasting color for the trumpet.
- Base coat: Start by applying a base coat of paint to the entire surface of your daffodil. This will provide a solid foundation for the subsequent layers of paint.
- Layering: Use a variety of paintbrushes to layer different shades of paint onto the petals and trumpet. This will add depth and dimension to your daffodil.
- Highlighting and shading: Add highlights and shadows to create a realistic effect. Use a lighter shade of paint to highlight the raised areas and a darker shade to create shadows.
- Details: Pay attention to the small details that make a daffodil unique, such as the delicate lines on the petals and the texture of the trumpet. Use a fine brush or a toothpick to add these intricate details.
- Finishing touches: Once the paint is dry, you can add additional embellishments to enhance the overall look of your daffodil. Consider using glitter, sequins, or small beads to add a touch of sparkle.
Remember to let each layer of paint dry completely before applying the next one. This will ensure a smooth and professional finish. Experiment with different techniques and colors to create a paper mache daffodil that is uniquely yours.
Final Touches
Once you have completed shaping and painting your paper mache daffodil, it’s time to add the final touches to bring your masterpiece to life. The final touches include attaching a stem and leaves to complete the overall look of the daffodil.
To create the stem, you can use a green pipe cleaner or a thin wooden dowel. Insert the stem into the base of the daffodil and secure it with glue or tape. Make sure the stem is long enough to give your daffodil a realistic appearance.
Next, it’s time to add the leaves. Cut out leaf shapes from green construction paper or cardstock. You can use a template or create your own unique leaf shapes. Attach the leaves to the stem using glue or tape, positioning them in a natural and visually pleasing arrangement.
By adding the stem and leaves, you are adding the final details that will make your paper mache daffodil masterpiece truly stand out. These finishing touches will give your creation a sense of depth and realism, making it a stunning centerpiece or decoration for any occasion.
Showcase and Preserve
Once you have completed your paper mache daffodil masterpiece, it’s time to showcase and preserve it so you can enjoy its beauty for years to come. Here are some tips on how to do it:
- Choose the right display: Find a suitable spot to showcase your paper mache daffodil. Consider placing it on a shelf, mantelpiece, or in a glass display case to protect it from dust and damage.
- Protect from sunlight: Keep your daffodil away from direct sunlight, as prolonged exposure can fade the colors and weaken the paper mache structure. Indirect or ambient light is ideal for preserving its vibrancy.
- Handle with care: When moving or cleaning your paper mache daffodil, handle it gently to avoid any accidental damage. Support the base and delicate parts to prevent bending or breaking.
- Dust regularly: Use a soft, dry cloth or a feather duster to remove dust from the surface of your daffodil. Avoid using water or cleaning solutions, as they can damage the paper mache.
- Consider a protective coating: If you want to add an extra layer of protection, you can apply a clear varnish or sealant to the surface of your daffodil. Test it on a small, inconspicuous area first to ensure it doesn’t affect the colors or texture.
By following these simple steps, you can showcase and preserve your paper mache daffodil, allowing it to bring joy and beauty to your space for years to come. Remember to check on it periodically to ensure its longevity and make any necessary adjustments to maintain its pristine condition.
Frequently Asked Questions
- Q: What materials do I need to paper mache a daffodil?
- Q: How do I create the base for a paper mache daffodil?
- Q: What is the technique for applying paper mache layers?
- Q: How do I shape and sculpt the paper mache layers?
- Q: How can I achieve a smooth and polished finish on the paper mache surface?
- Q: What painting and decorating techniques can I use for my paper mache daffodil?
- Q: How do I add final touches to my paper mache daffodil?
- Q: How can I showcase and preserve my paper mache daffodil?
A: To paper mache a daffodil, you will need newspapers, flour, water, paint, and a daffodil template.
A: To create the base, crumple newspapers and shape them into the desired form of the daffodil. Secure the shape with masking tape.
A: To create a durable and realistic daffodil shape, apply multiple layers of paper mache. Dip strips of newspaper into a mixture of flour and water, then smooth them onto the base. Repeat this process until you achieve the desired thickness.
A: Once the paper mache layers are dry, you can shape and sculpt them to resemble the petals and trumpet of a daffodil. Use your hands or sculpting tools to mold the paper mache into the desired form.
A: After shaping the paper mache, you can smooth and sand the surface to create a professional finish. Use sandpaper or a sanding block to gently sand away any rough edges or imperfections.
A: You can explore various techniques to bring your paper mache daffodil to life. Consider using acrylic paints, watercolors, or even adding details with markers or colored pencils. Get creative and experiment with different colors and textures.
A: To complete your paper mache daffodil masterpiece, attach a stem and leaves. You can use wire or sturdy cardboard to create the stem and cut out leaf shapes from green construction paper or cardstock. Attach them securely to the base of the daffodil.
A: To showcase your paper mache daffodil, consider placing it in a vase or displaying it on a shelf. To preserve its beauty, keep it away from direct sunlight and excessive moisture. If needed, you can apply a clear varnish or sealant to protect the surface.
Related Posts

The History and Culture of Orchids

The Best Lily of the Valley Varieties for Your Garden